Description
FUNCTIONALITY
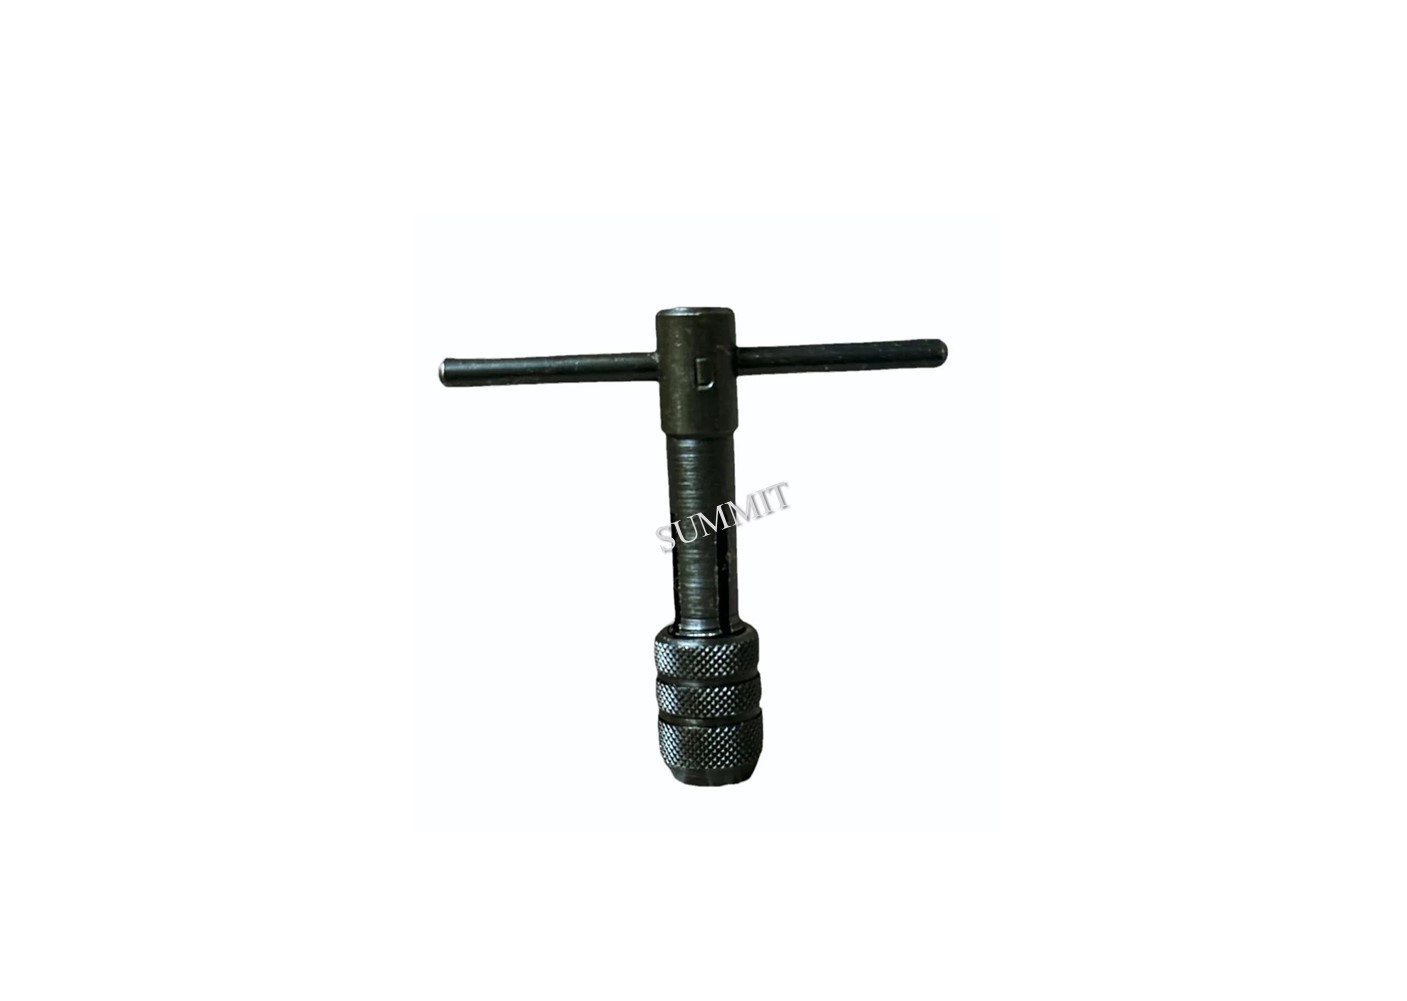
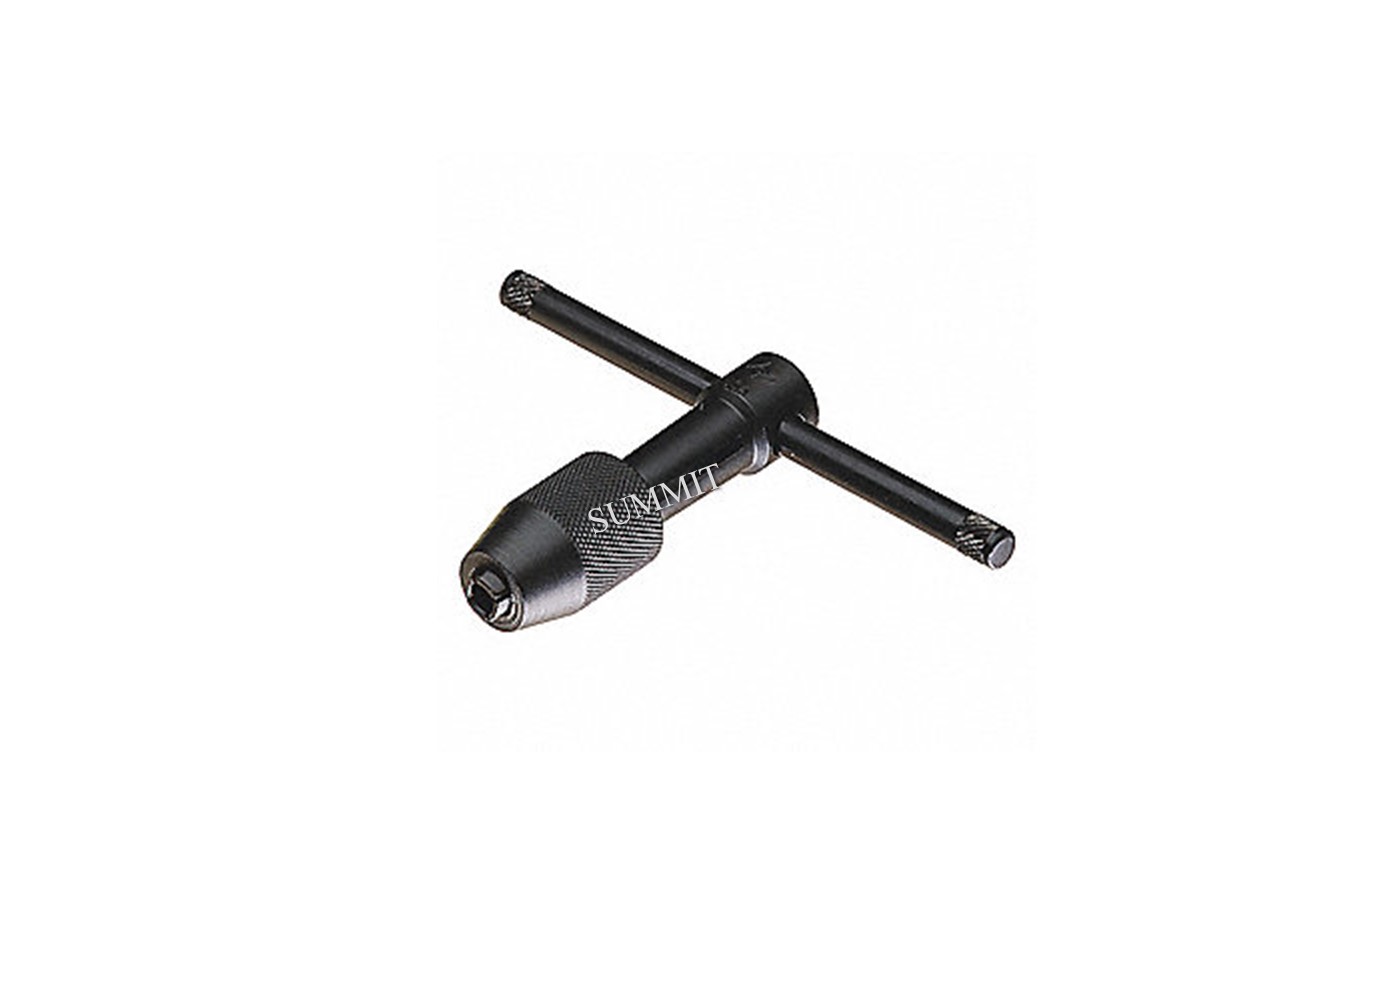
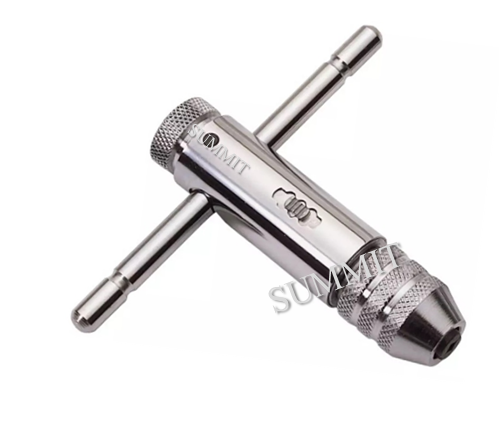
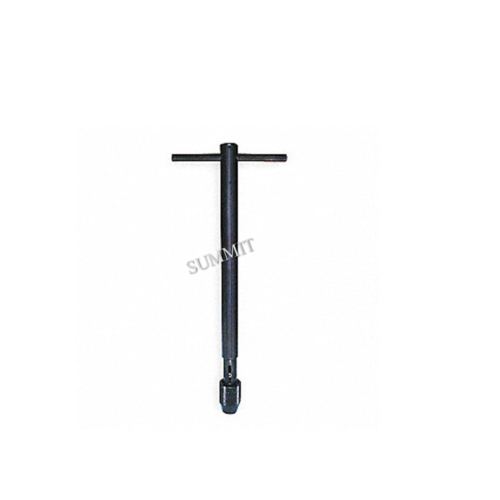
Insert the Tap or Die: Choose the appropriate tap or die for your threading task, ensuring it matches the size and thread pitch of the material you’re working with. Insert the tap or die into the chuck at the top of the T-tap wrench.
Secure the Threading Tool: If your T-tap wrench has an adjustment or clamping mechanism, use it to securely hold the threading tool in place. This prevents the tap or die from moving while you work.
Engage with the Material: Place the tap or die at the starting point on the material where you want to create threads. Begin turning the T-handle clockwise (for right-hand threads) or counterclockwise (for left-hand threads) to engage the threading tool with the material.
Apply Steady Pressure: Apply steady and even pressure as you turn the T-handle. The threading tool will start cutting or forming threads in the material as you rotate it.
Reverse as Needed: Depending on the threading task, you may need to periodically reverse the direction of the T-tap wrench to break chips or clear debris from the threads.
| Part No | Capacity | Box Packing | Carton |
|---|---|---|---|
| STTW -A | 1/16 – 1/4 | 10 | 100 |
| STTW -B | 5/32 – 1/4 | 10 | 100 |
| STTW -C | 3/16 – 5/16 | 5 | 100 |
| STTW -D | 1/4 – 1/2 | 5 | 100 |


Reviews
There are no reviews yet.